Home | Saltwater Flies | Fly Tying Materials | Saltwater Fly Fishing Accessories
Ordering Instructions, Shipping rates, Your Satisfaction Guaranteed | Site Map
Using Epoxy - Fly Tying Tutorial
Article and photos by Blake Davis
| Despite having a reputation as a finicky material, epoxy remains an essential
component to many saltwater flies. It can be used as an adhesive, a clear coating, and as way to
add weight to a fly, among other uses. Although many alternatives exist, few are as
durable and versatile, and the proper use of epoxy continues to be a very important technique for saltwater fly tiers. Materials |
While there are many epoxy kits available for fly tiers, I prefer to assemble my own materials
as they are quite cheap and easy to obtain. The following list includes tools to mix, apply, and
cure epoxy, though you can adapt your method to use whatever is on hand. Here is what you will need:
|
| Fly tiers typically use "one-minute" to "30-minute epoxy", reserving those with shorter working times as an adhesive for eyes and other fly accessories, and those with longer working times as a durable coating. Unless you need a strong adhesive, or have no way to rotate the fly while it cures, I recommend 30-minute epoxies, not only because of the longer working time, but because they are less prone to the discoloration that can occur when cured epoxy is exposed to sunlight. |
Mixing Epoxy (Steps 1 to 5) |
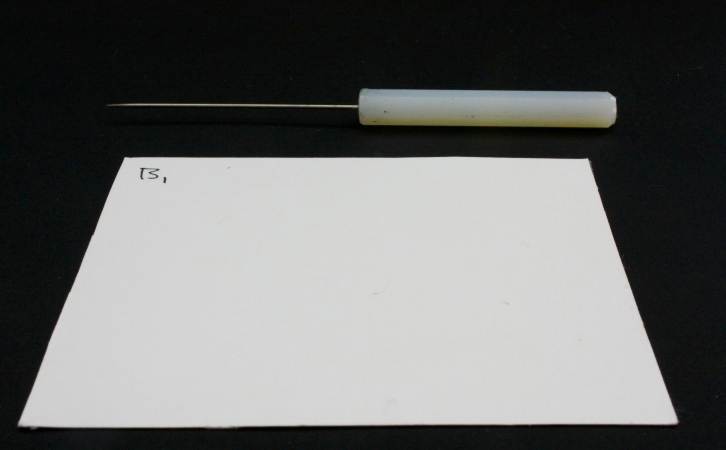
| Step 1: Begin by labeling the upper corner of your index card or paper slip. If you are making multiple batches, this will help you monitor which epoxy batches have cured. Make sure to have your bobbin, toothpick, or other mixing implement close at hand and a clear workspace. |
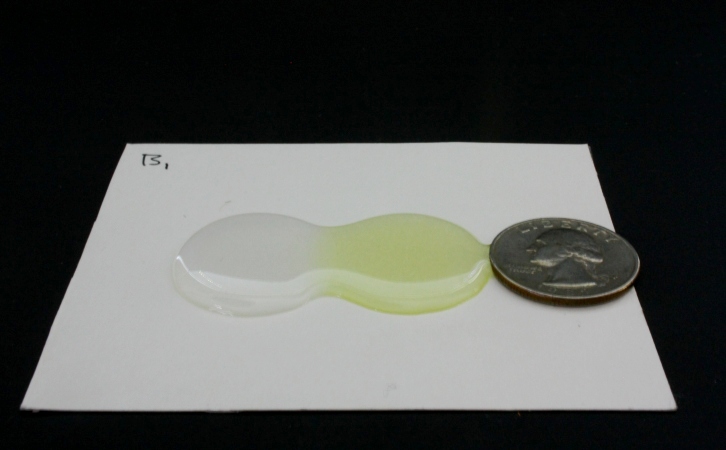
| Step 2: Squeeze out equal portions of the two epoxy resins, each amount approximately the size of a quarter. Unless otherwise indicated in the instructions that accompany your epoxy, most epoxies use a fifty-fifty ratio of two resins that react to form a durable plastic polymer. |
| One of these resins typically has a yellow hue and a slightly thinner consistency, while the other tends to be clearer and thicker. To ensure equal portions of each, some tiers pre-measure the resins in small plastic cups. I prefer to eyeball each amount, taking into account each resin has a different consistency. |
| While you can mix less epoxy than is shown, using a larger amount gives you a greater margin for error. Essentially, your proportions can be off by a fair amount but the epoxy will still cure properly, which is not necessarily true when starting with smaller amounts. |
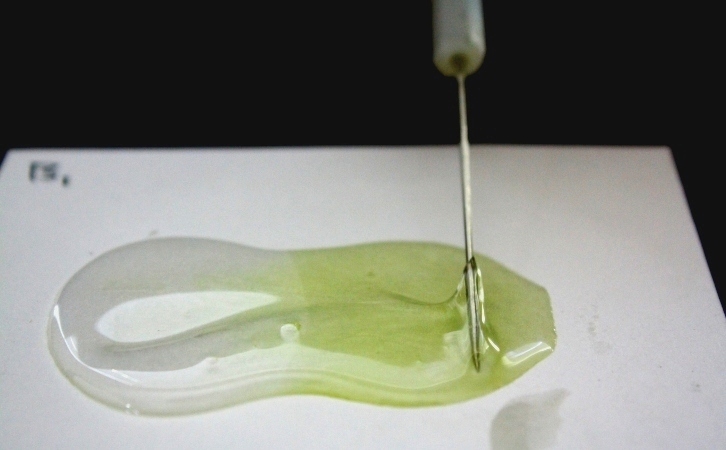
| Step 3: Using a bodkin or other mixing implement, begin moving the epoxy resin from the outside of the epoxy "pool" into the center (Note: Toothpicks, coffee straws or stirrers, and other disposable mixing tools are often not a good choice, as they can break, or are too short to work with, which can end up creating a mess. Using a dedicated bodkin with a strong handle will help make this job much easier. Just remember to clean this tool well by wiping it with a paper towel or small rag each time you're finished mixing & applying a batch of epoxy). Work your way around the outer edge and continue pushing resin toward the center, being careful not to stir in air bubbles by working too quickly. |
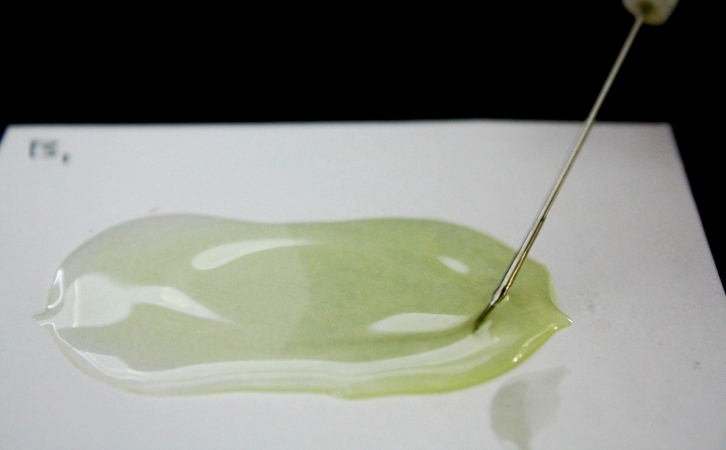
| Step 4: After about half a minute of pushing the resin into the center, begin moving the bodkin in a circular pattern, again moving slowly to avoid air bubbles. If you are careful, you will need to spend no more than an additional minute mixing. As the resins mix and begin to react, the epoxy mixture will become cloudy. This is temporary and the epoxy with soon clarify. |
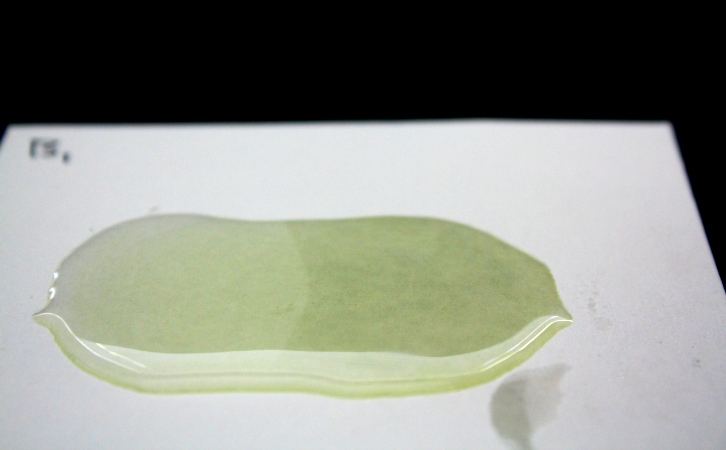
| Step 5: After a maximum of two minutes mixing, your epoxy should be ready to apply. There should be no streaks caused by unmixed resins, and the cloudiness that once appeared should no longer be apparent. As the epoxy cures, you will notice the material near the center of the pool solidifies more quickly than the edges. Keep this in mind later when you are applying the epoxy, as the material from the center of the epoxy pool is almost always better mixed. |